14 May 2012

Vegan Mozzarella


I did it! I finally made vegan cheese. Meltable, delicious vegan cheese. The very cheese I’ve had all the ingredients for since the beginning of the semester but never got around to making. All I have to say right now is I’m so happy of myself! If you believe in yourself (and read the following post), you can learn how to make vegan cheese! And thumbs up for rock and roll!


I adapted my recipe from a recipe I found here.


Ingredients
1 package Extra Soft Silken Tofu
1 cup Vegan Heavy Cream
1/2 Tbspr Salt
1 tsp Garlic Powder
1 tsp Rice Vinegar
6 tsp Agar Flakes
1/2 cup water


Blend until smooth the tofu, heavy cream, salt, garlic power, and vinegar (I used a magic bullet for this--it blends it a very creamy consistency). Transfer to a small sauce pan and stir in the agar flakes and water. Bring to a boil on medium, stirring frequently. Boil until the agar flakes are almost completely dissolved (about 20 minutes), adding water if necessary doesn't boil down too much. 


Pour into a large loaf pan and place in fridge until completely cooled.


There you have it. It does taste slightly tofu-y, but not over-poweringly so. It’s good vegan equivalent to mozzarella. It slices/shreds really well and melts pretty well too. When it’s melted it doesn’t have that stringiness that real cheese has, but it still taste delicious.


I ended up using my cheese on a pizza with sauteed onions, mushrooms, and spinach. I definitely recommend you do the same.


13 May 2012

Graduation Sombrero


Last Saturday was my graduation from the University of Florida (can i get a "huzzah!" and "go Gators!"?). I just so happened to be graduating on Cinco de Mayo. I feel this was very appropriate, since Cinco de Mayo marks Mexico's victory over The French and graduating marks my victory over my French degree. Since these two dates alligned so perfectly, I decided to turn my graduation cap into a graduation sombrero. Viva Mexico y viva graduacion!


The Ingredients
32 mini pompoms in the color of your choice (I used my school colors--Go Gata!)
1 child's size sombrero
Yarn
Large needle
Small needle & thread
Scissors
Hot glue
Optional: black sharpie for a very necessary finger moustache


Oh yeah, and your graduation cap. Duh.


The Steps


Thread your yarn through a large needle. To facilitate this process, I taped the end of my yarn so it wouldn't fray as I was threading it (well, my mother did. I never would have thought to do that on my own and would have therefore never finished my hat out of frustration and defeat).


Thread your yarn through your pom-poms.


As you thread them, push them together along the yarn.


Once you have all your poms poms on the yarn, move thneedle and make a knot and the end. Push one pompom along the string until it reaches the knot. Then make another knot about 3-4 inches away from that one and repeat the process.


As you go along, cut the yarn at the base of the pompom, right below the knot, creating the creppy tadpole like things pictured above.


Now, knot the yarn you've attached your pompoms to onto another long strand of yarn.


Because you are no good at sewing and have two hours until you need to be at you graduation, have your mother sew the Strand of pom-poms onto your hat. Space them put so there is 8 on each side.


Next, cut off the brim of your sombrero and hot glue it to your cap. Make sure you only hot glue the back so that you can move your tassle from right to left.


Ay chico! That's it. All you need is a Mexican finger moustache, and you're all set.

12 May 2012

The Borrower

Baby you light up my world like nobody else

The way that you flip your hair gets me overwhelmed

But when you smile at the ground it ain't hard to tell

You don't know oh oh you don't know you're beautiful

Shirt: BCBG
Skirt: Forever 21
Shoes: Target
Belt: Cotton On
Earrings: Forever 21
Ring: Etsy

I only purchased two of the items I am wearing in this picture: my France ring and my belt (which, in all fairness, I wear more than any other of the items in this post).

The earrings were borrowed from Cassie; the dress (used as a shirt) is from Kaitlin (Huzzah for her letting me borrowing while she's in NZ for the year!); the skirt is a hand-me-down from my oldest sister; the shoes are a hand-me-down from a lady I used to babysit for; 
and I borrowed the wing-back chair from the dumpster outside Cassie's apartment (classy, I know).


I missed my calling in life and was supposed to be a borrower. Hey, I'm ginger-haired, short, and clearly gifted at amassing and using items that are not mine. Maybe you should go ahead and just call me Arrietty. 

06 April 2012

Spinach and Mushroom White Sauce Pasta

When I was a little bit younger

Gotta be honest, I'm quite proud of my brilliance concering the creation of the recipe. I made it when having one of those experimental cooking moods where I don't use any sort of recipe but just throw things together. Usually, this dos not turn out well for me. I tend to be a little over excited and add too many ingredients. This though--this was wonderful. Both my vegans and non-vegan friends agreed that it was superb. My sister said it was the best white sauce pasta she ever tasted. Yeah, she's definitely right.

Spinach and Mushroom White Pasta
(Serves 8)
1 (16 oz) box of pasta
5 medium cloves of garlic, minced
1 large onion, diced
6 oz. of spinach
8 oz. white mushrooms, sliced
1.5 cups vegetable broth
1/4 cup dry white wine (I used chardonnay)
3 Tbsp lemon juice
1/4 cup nutritional yeast
2 tsp dried herbs (I used rosemary)
1/8 tsp red pepper flakes
Salt and Pepper

Start off by boiling water for the pasta, so you can make your sauce while your pasta is cooking.

The strain I was under could make me cry

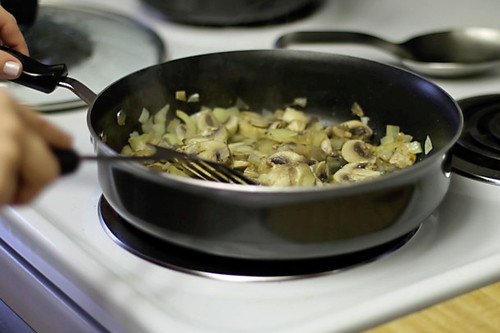
Heat up some olive oil in a deep skillet on medium heat. Add onions and garlic, cook for a minute or so. Add mushrooms and cook for about 5 minutes (you'll want to cook it until the oninons are transparent and the mushrooms have significantly reduced in size).

Now I'm a little bit older, a little bit bolder

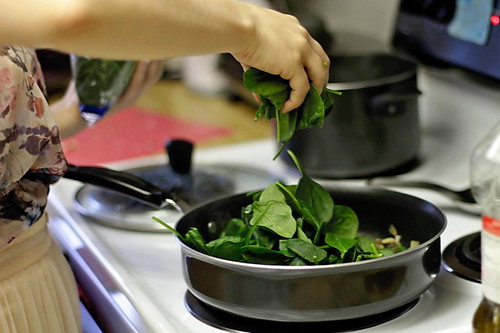
Stir in the spinach and cook until wilted.

But ever so shy

Add the rest of the ingredients and cook until heated all the way through and the sauce begins to thicken (around 5-7 minutes). Adjust spices to taste.

Sweet darlin'

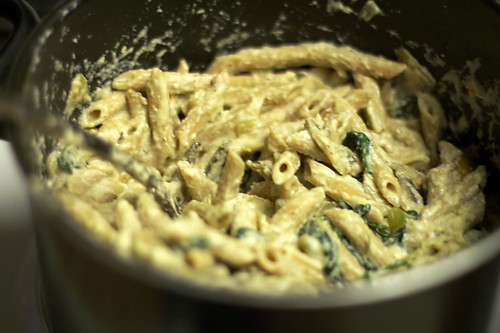
Pour the white sauce on top of your cooked pasta and mix thoroughly.

Come hold me

Beware of four-eyed velociraptors and their suspiciously smiley sidekicks who might try to steal your delicious creation. It's just one of the hazards that come with cooking such appetizing food. Sigh.

Just a little bit longer now

Bon Appétit!

Vegan Heavy Cream


But I will hold on as long as you like

Holy scheisse, who knew cashews were so freaking phenomenal? Seriously, you can use them to make loads of vegan "dairy" products. Way to go cashews. This time around I used them to make heavy cream, which I then used to make white sauce for a killer pasta dish (fret not, I will post the recipe for that soon). Seriously, so good.

Vegan Heavy Cream
(Makes 2.5 cups)
2 cups raw (whole) cashews
1 cup almond milk
1/4 cup water

232323232fp6357->nu=9883>64->259>WSNRCG=34<46;<65434-nu0mrj

Place your cashews in a bowl and completely cover them with cold water. Let them sit 4-6 hours (or overnight).

But the ghosts that we knew will flicker from view

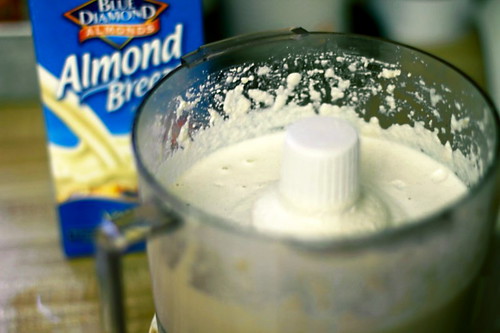
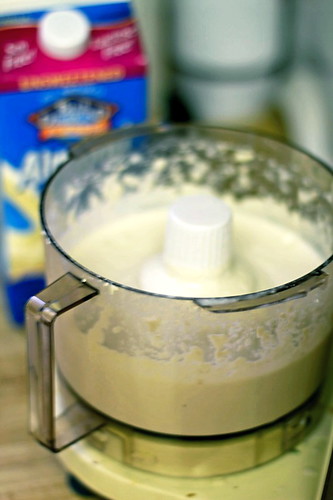
Drain water from cashews and transfer to a food processor with the liquid ingredients (you might want to only start out with half the liquid and you can add more based upon how thick or creamy you want it). Process until smooooooth (add more liquid if needed).

NOTE: The second time I made this,I used a magic bullet instead of a food processor and the resulting heavy cream was much more smooth. I definitely recommend using a magic bullet if you have one.


And we'll live a long life

05 April 2012

May The Odds Be Ever In Your Favor

Just close your eyes

The sun is going down

You'll be alright

No one can hurt you now

Come morning light

Dress & Belt: Forever 21
Tights: Target
Boots: Wet Seal
Earrings: Charlotte Russe
Ring: Icing

Confession: I stole this entire outfit from Cassie. Well, ok, except for the tights. Those I stole from Michelle. I spent the weekend in Orlando, and I can never resist playing dress-up with Cassie's clothes. It's like getting a whole new wardrobe for a weekend. Thankfully, Cassie is very obliging and doesn't blink when I emerge from her room decked out completely in her clothing. What a gem (thankfully, a gem with an extremely good taste in clothes).

This whole outfit seemed very Hunger Games-esque to me. I think it's the boots. Gotta admit, I felt preeeeeetty B.A. in those boots. Probably 'cause I am pretty B.A. in those boots.

And just to break up some of the solemnness of the above photos and to show you that underneath all my B.A.-ness might be a hint of sweetness:

You and I'll be safe and sound

03 April 2012

Lime Roasted Brussel Sprouts

IMG_2143

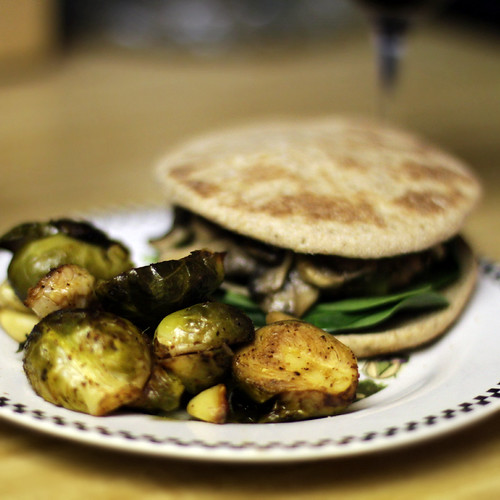
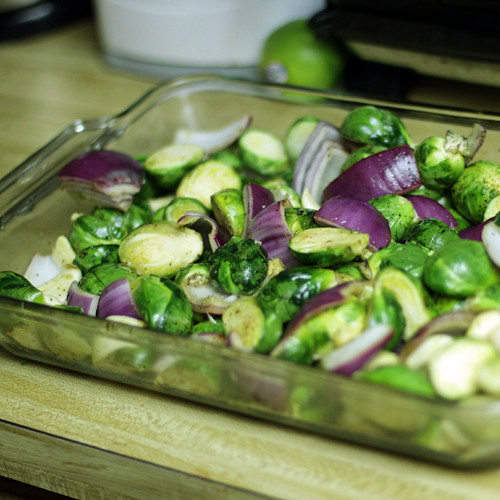
This is a recipe I created a while back, and have perfected over time. Generally, I have these at least once a week every week. In fact, half of my diet consists of roasted vegetables. I roast everything. When my dear Christy Lu stayed with me a few weeks back we paired these with some delicious vegan apple ginger burgers. Unfortunately (for those of you who need to strictly follow a recipe), this recipe is more "add stuff together until it looks good" and less "measured out." It's pretty simple though, and I have faith that you can make it just as delicious!

Lime Roasted Brussel Sprouts
(Serves 8-10)
1 16 oz bag of brussel sprouts
2-3 red onions, cut into fourths
limes to taste (I use about 2)
lots of garlic
salt & pepper

Christy used 1 tsp of chili pepper as well. I'd add more if you really want it to effect the taste.


IMG_2054

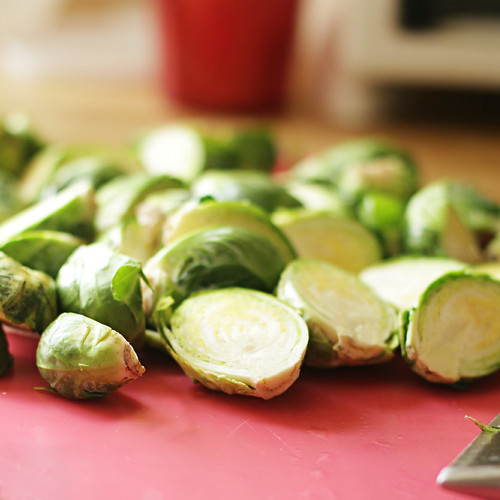
First, you'll want to cut the sprouts in half. I cut off the tough parts at the base of the sprouts as well.

IMG_2064

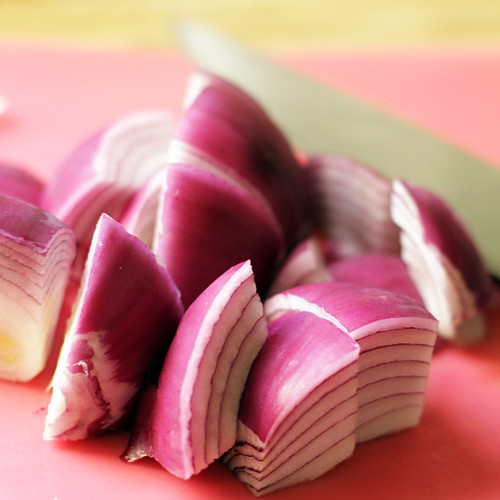
Then you'll want to slice your onions into fourths.

IMG_2076

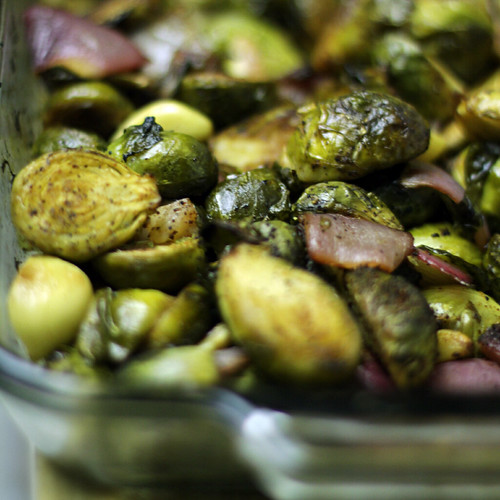
Mix the brussel sprouts, onion, garlic cloves, lime juice, salt, and pepper. I cook them at 400 degrees until everything is tender and the garlic cloves are browned on the outside and completely cooked all the way through. It usually takes about 45 minutes to an hour.

IMG_2113

Voila! Roasted deliciousness!